Dutch Winter Cross Stitch: Skaters, Windmills and Snow
Frozen canals, skaters, windmills in the snow and a koek-en-zopie on the ice. A guide to the Dutch winter cross stitch kits and Paint by Numbers designs, and what you are actually...
Featured
 Your Photo – Color by Number$64.00
 Custom Embroidery Kit of Your Photo$38.00
 Urban Charm – Paint by Numbers Set (2 canvases)$76.00
 Rural Dream - Paint by Number Kit (2 canvases)$76.00
 Sunset Dreams - Paint by Number Kit (2 canvases)$76.00
 Girl with a Pearl Earring – Johannes Vermeer – Paint by Numbers$64.00
Embroidery hoop size made simple: 4, 6, or 8 inch hoops, wood vs plastic, mounting tips, and how to keep your fabric drum-tight every session.
Last updated: 6 May 2026 — by Stitchi Studio
The right embroidery hoop size makes the difference between a project you stitch in a single relaxing evening and one you fight with for weeks. A hoop that's too small means constantly repositioning. Too big and your fabric goes slack. Wrong material and your fabric won't grip. This guide covers exactly what hoop to buy for what project, when to choose wood over plastic, and how to mount fabric so it stays drum-tight from your first stitch to your last.
An embroidery hoop holds your fabric taut while you stitch. Two rings — an inner solid ring and an outer ring with an adjustable screw — sandwich the fabric between them. When you tighten the screw, the fabric stretches drum-tight, which lets you make even, uniform stitches without tugging the fabric out of shape.
The hoop is also a frame. Many modern stitchers display their finished work right in the hoop — sand the wood, stain it, or paint it, and you've got a ready-made piece of wall art. For more on this finishing option, see our how to finish a cross stitch project guide.
If you're brand new, the cross stitch starter guide covers all the supplies, including hoops, in one place.
The rule: pick a hoop slightly bigger than the entire design (or the section you can comfortably reach in one hooping). Too small and the hoop edge crushes finished stitches. Too big and the fabric drapes between hooping sessions.
| Hoop size | Best for | Stitches it covers (14ct) |
|---|---|---|
| 4 inch | Tiny gift designs, monograms, ornaments | ~50 x 50 |
| 5 inch | Small motifs, kid projects | ~65 x 65 |
| 6 inch | Most beginner kits, mid-size patterns | ~80 x 80 |
| 7 inch | Quote pieces, small portraits | ~95 x 95 |
| 8 inch | Large designs, hoop-display art | ~110 x 110 |
| 10 inch+ | Full samplers, large portraits | ~140+ x 140+ |
If your design is bigger than your hoop, that's normal. You'll re-hoop the fabric every few hours, moving the hoop to a fresh section as you progress. The fabric should always extend at least 3 inches past the hoop edge — that's the margin you build in when buying fabric. The Aida cloth count guide shows the full math.
The answer most stitchers settle on after a few projects: own one of each.
Pros: classic look, perfect for hoop-mounted finishing, brass screw gives strong even tension, widely available in every size.
Cons: cheap wood splinters and warps. Spend a few extra dollars on beech or bamboo — it's worth it.
Pros: tongue-and-groove inner edge grips fabric harder than wood. Less expensive. Doesn't warp. Many models have a silicone seal that holds tension for weeks.
Cons: not pretty for display. The plastic feel is less premium for gift-finished pieces.
For your first projects, wood is fine. As soon as you start a piece bigger than 8 hours of stitching, the harder grip of a quality plastic hoop pays off. For finished display, a wood hoop wins every time.
A hoop stand or floor frame holds your project for you, leaving both hands free. This sounds optional until you've stitched for two hours and your shoulders are aching from holding the hoop.
Three categories:
If you stitch while watching TV or reading, even the simplest lap stand transforms the experience. Many stitchers find their session length doubles overnight.
Tip for serious stitchers: bind the inner ring with cotton bias tape (the cheap quilting kind). Wrap it tightly around the inner ring and stitch the end down. The cloth grips fabric far harder than bare wood, holds tension for days, and prevents the hoop from leaving marks on finished work.
Drum-tight — tap the fabric with a finger and you should hear a soft thump. Loose fabric leads to uneven stitches, tight fabric warps the weave. Re-tighten every 30 minutes during long sessions.
For unstitched fabric, yes. For stitched fabric, no — the hoop edge presses into your stitches and leaves a permanent ring mark. Loosen the screw and slide the rings off when you stop stitching for the day.
Yes, but use a fresh hoop for finishing if possible. The screw-side hoop you've been tightening for weeks won't sit perfectly flush. A second matching hoop is around 5 to 10 USD and gives a cleaner finished look.
Q-snaps are square plastic frames that grip fabric with rubber clips. They hold tension better than hoops and don't crush stitches as easily, but they're bulkier and not display-ready. Many stitchers use Q-snaps to stitch and a wooden hoop to display.
Two causes: the screw isn't tight enough, or the inner ring is smooth wood without grip. Bind the inner ring with cotton tape (see above) or switch to a hoop with a tongue-and-groove edge.
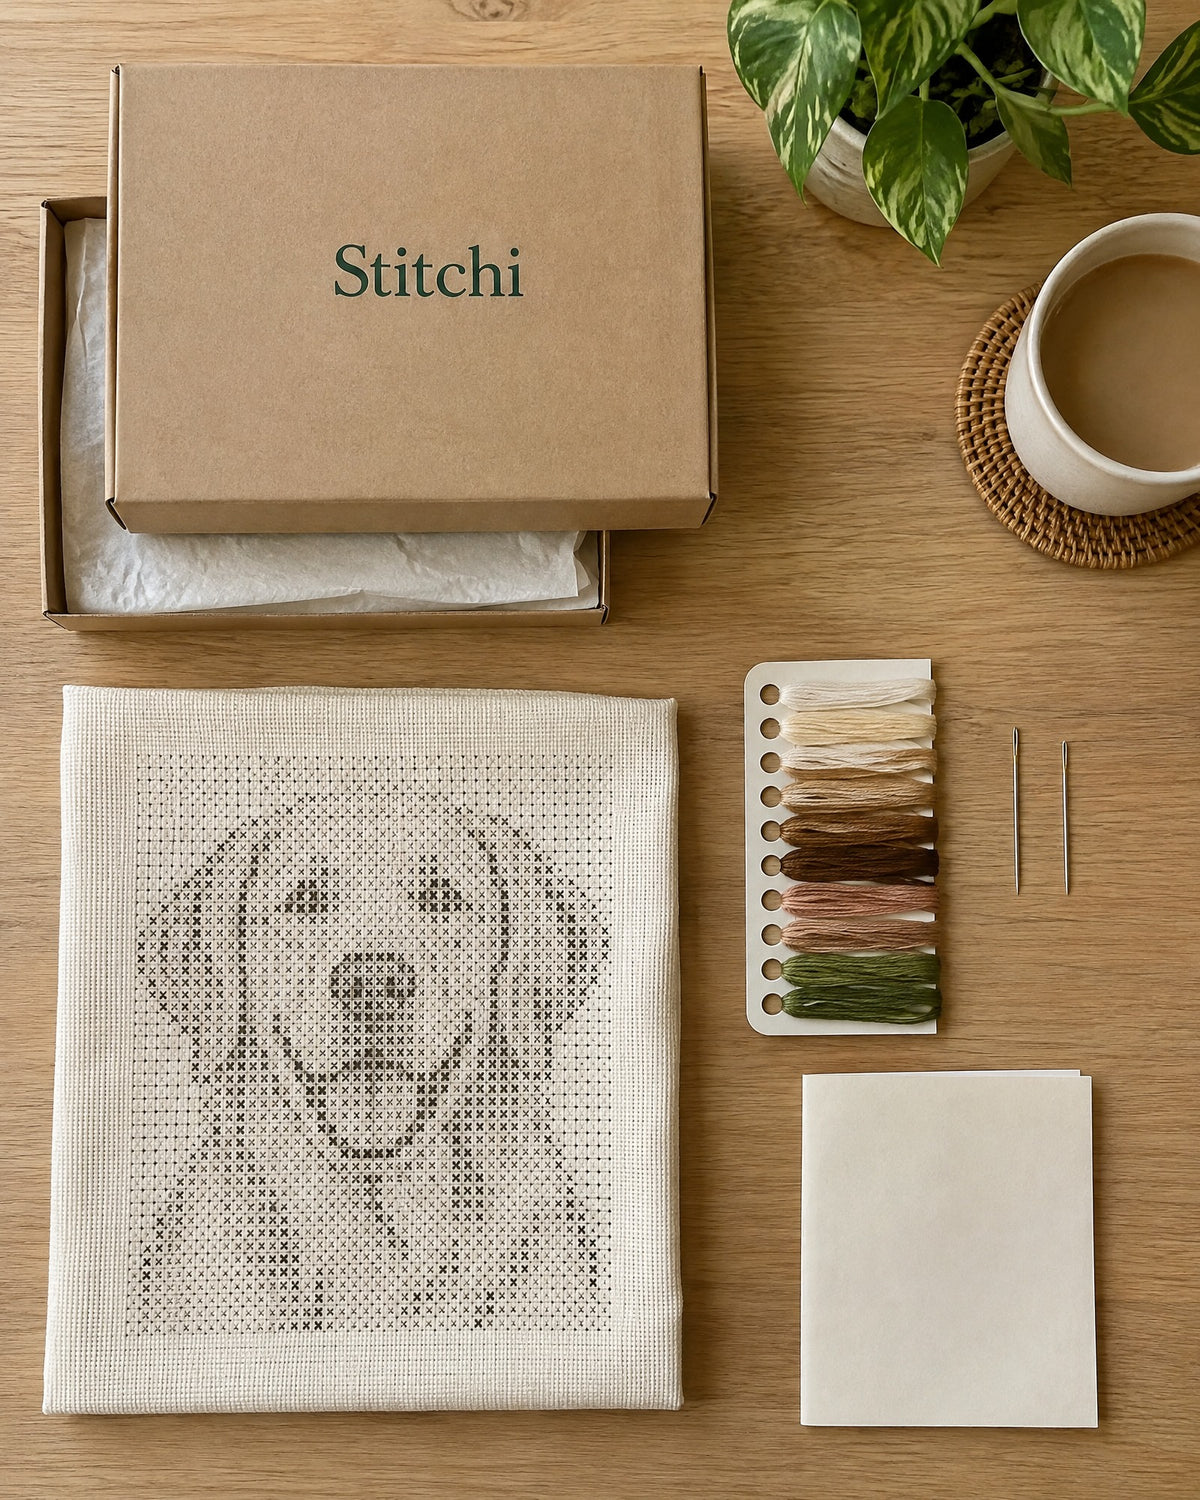
Buy one quality 6-inch wooden hoop, one cheap 4-inch hoop for tiny projects, and bind both inner rings with cotton tape. That's the kit that handles 95% of beginner work. Our custom photo cross stitch kit ships with a hoop matched to your design, so you don't have to size it yourself. For more setup help, see our cross stitch starter guide and finishing guide.
Choose a photo you treasure and see your preview straight away. We’ll turn it into a complete Paint by Numbers kit.


Frozen canals, skaters, windmills in the snow and a koek-en-zopie on the ice. A guide to the Dutch winter cross stitch kits and Paint by Numbers designs, and what you are actually...
How the two-canvas duo set works, how to choose between up to 20, 30 and 40 colours, and which of the 75 Christmas Paint by Numbers designs suits whom.
Choose the motif first, then the size, then the canvas type. A practical walk through the 52 Christmas cross stitch designs, with sizes, what is in the box and what it costs.

